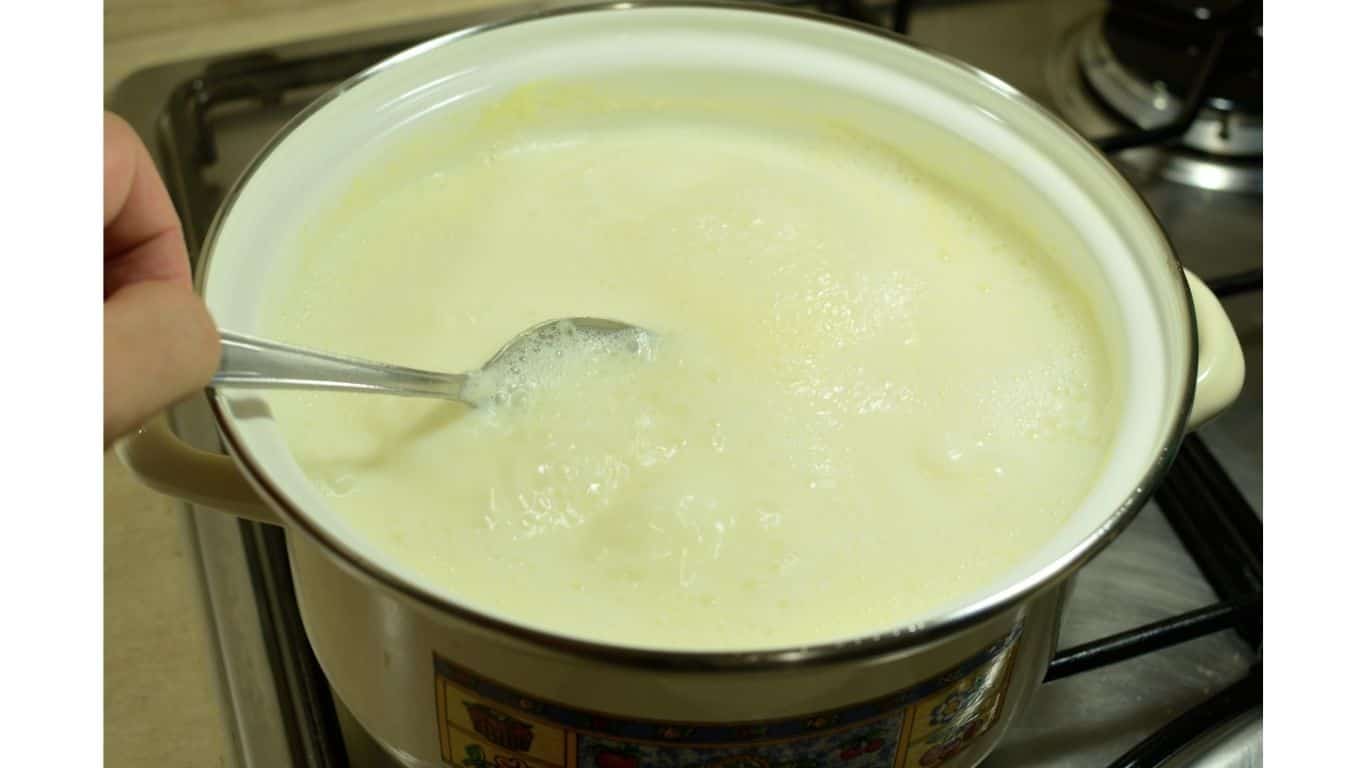
Boiled milk is crucial for several recipes, including hot chocolate, cakes, and frosting. Warm milk is also a comforting nighttime beverage, but can you boil milk in a kettle?
It’s possible to boil milk in a kettle, but it’s not the cleanest and most efficient method. For example, boiling milk inside electric kettles with internal heating components can result in burned bits of milk that cling to those heating elements.
This guide will explore why you might want to boil milk and how to boil milk in a kettle, and other alternatives.
You can use this information to create warmed milk safely, efficiently, and with as little mess as possible.
Why Should You Boil Milk?
Boiled milk might not seem as appetizing as a cold glass of milk, but there are several reasons why you might want to heat some milk. One of the most crucial reasons you might want to boil milk is to kill bacteria.
While raw unpasteurized milk is relatively rare in the United States (it’s banned in 20 states), it’s pretty standard throughout European nations like France, Austria, and Denmark.
This untreated milk has more nutrients than pasteurized milk, but it can also harbor dangerous bacteria.
One of the fastest and most effective ways to destroy this bacteria is heat. For this reason, boiling milk is a common practice throughout much of Europe and the United Kingdom.
Considering how popular tea is throughout these areas, it also makes sense that many people would feel tempted to boil milk in a kettle.
However, destroying bacteria isn’t the only reason you might want to boil milk.
Warm milk is an essential ingredient in several recipes, including hot chocolate, hot milk cake, and ermine frosting. If you’re eager to create any of these beverages and snacks, you’ll want to use boiling hot milk.
Using a kettle is a convenient method, though it might not be the best choice (as we’ll soon discuss). Still, can you boil milk in a kettle?

How to Boil Milk in a Kettle
Boiling milk in a kettle is a simple, three-step process.
Essentially, you’ll need to:
- Choose your kettle
- Pour milk into the kettle
- Heat the kettle
We’ll break down these steps in greater detail to ensure you enjoy the best possible experience when boiling milk.

Choose Your Kettle
So, can you boil milk in a kettle, regardless of the type of kettle? Your choice of tea kettle has a significant impact on the boiling process.
Traditional kettles don’t have internal heating elements, and they also have removable tops. These qualities make them a better choice when boiling milk.
Electric kettles or kettles with internal heating elements can curdle or burn the milk. When this happens, your warmed milk can be chunky or leave hard-to-remove residue on the heating elements.
For these reasons, it’s best to only boil milk in a standard, element-free kettle.
Pour Milk Into the Kettle
Carefully pour the milk into the kettle, ensuring that you don’t splash the outside of the kettle. If possible, allow your milk to reach room temperature before pouring it into the kettle.
Still, you won’t want to let milk sit out for several hours before boiling it, as this can result in bacterial growth.
While you can kill most of these bacteria via the boiling process, it’s still best to avoid bacterial growth whenever possible.

Heat the Kettle
Now it’s time to heat the kettle! First, place the container on a stovetop burner and switch the burner to a low or medium heat level.
Can you boil milk in a kettle that’s piping hot? You’ll want to avoid high heat, which is bound to cause the milk to burn and curdle.
The time it takes for the milk to boil varies depending on the amount of milk used, the burner heat level, the starting temperature of the milk, and your altitude.
Generally, room temperature milk boiled over medium heat at low altitudes will boil fastest.
Still, it typically takes between five and ten minutes to boil milk in a kettle.

Drawbacks of Boiling Milk in a Kettle
While boiling milk in a kettle might be convenient, it might not be the best option. That’s because boiling milk in a kettle has several potential drawbacks, including:
- Ruined heating elements
- Difficult post-boil cleaning
- Curdled milk
Before you pour milk into your tea kettle, be sure to consider these disadvantages.
Ruined Heating Elements
The heating elements inside a kettle typically consist of nickel and chromium. While milk isn’t a highly acidic or corrosive liquid, it can form corrosive deposits that settle onto these metal elements, ruining them.
Difficult Post-Boil Cleaning
Many tea kettles have small top lids that don’t make it easy to clean the inside of the kettle.
While this isn’t a significant problem when boiling water (though limescale buildup can be an issue), it can make cleaning a kettle after boiling milk tricky.
For that reason, it’s crucial to boil milk in kettles with wide openings at the top. These kettles allow you to put your whole hand in the kettle, ensuring that you can scrub the bottom and sides of the kettle’s internal chamber.
Curdled Milk
Several things can cause milk to curdle. However, heat is one of the most significant things that curdles milk. For that reason, it’s often challenging to avoid producing curdled milk when boiling milk.
Using low or medium heat to boil milk and stirring are the best ways to avoid curdling.
However, if you’re using an electric kettle or a kettle with internal heating elements, it might be impossible to avoid curdled milk during the boiling process.

Tips to Boil Milk
Here are some of the most common questions related to boiling milk and advice to make it easier to heat up.

How Do You Stop Boiling Milk From Burning?
The best way to stop milk from burning in a kettle is to use low heat when boiling it. You should also stir the milk consistently with a wooden spoon.
Stirring helps prevent milk from forming into curdled chunks at the bottom of the kettle, and it also helps prevent a burned layer from forming on the bottom of the kettle.

Does Boiling Milk in a Kettle Damage It?
Boiling milk in a standard kettle (without heating elements) won’t do any long-term damage.
But boiling milk in an electric kettle or a kettle with internal heating elements can damage the kettle and make it almost impossible to use in the future.
That’s because milk can coat the exterior of the heating elements during the boiling process. And removing this layer of milk afterward can be exceptionally challenging.
How Do You Clean a Kettle After Boiling Milk?
The best way to clean a kettle after boiling milk is to fill it with warm soapy water immediately after use.
Waiting to clean your kettle can result in hardened bits of burned, sour-smelling milk that sticks to the inside of the container.
But if you’ve forgotten to wash away the remaining milk from your kettle after boiling, you’re not entirely out of luck.
Hot water, dish soap, and a little elbow grease can help separate the burned milk from the bottom of the kettle.
You can also use warm water, baking soda, and a little bit of vinegar or lemon juice to remove set-on milk from the bottom of a kettle.
Still, if your chosen kettle has internal heating elements, bits of dried milk may remain on the underside of the metal components, just out of reach.
What Are Some Safer and Reliable Ways to Boil Milk?
If you’d like to avoid some of the pitfalls of boiling milk in a kettle, there are two tried-and-true alternatives you can try.
For example, you can boil milk:
- Using a saucepot
- Using a microwave
Let’s briefly discuss each option to discover which might be the best for you!
Using a Saucepot
One of the best ways to boil milk is to use a saucepot. A stoneware saucepot is best, as it’s naturally non-stick.
You’ll want to place a saucepot on a stovetop and turn the heat to a low-to-medium level to get started.
Then you’ll want to pour in your milk, ensuring that you leave at least a one-inch gap between the liquid and the top of the saucepot.
From that point, stand watch over the saucepot, occasionally stirring the milk with a wooden spoon.
When you begin to see bubbles forming at the top, you can switch the burner off and remove the pot from the stove. Then, be sure to either place the saucepot onto a cold burner or a heat-resistant pot mat on your countertop.
Then carefully pour the milk from the saucepot into a wide-mouthed cup or bowl. The right option depends on the recipe or dish you’re creating.
Bring the saucepot to your kitchen sink and rinse it out as soon as possible to avoid sour milk remnants from sticking to your cookware.
When the saucepot has cooled slightly, you’ll also want to wipe it down with a sponge and a little dish soap, then rinse it clean.
Using a Microwave
A microwave could also prove to be a helpful alternative to a kettle, though you’ll need to take a few precautions.
For example, boiling milk can splatter inside a microwave, leaving a foul-smelling mess that’s challenging to clean.
Fortunately, you can use a microwave-safe lid or plate to keep milk from boiling over your container and sticking to the inside of the microwave.
Still, it’s also possible to microwave milk for too long, resulting in curdling.
For that reason, you’ll want to microwave milk on a low heat setting and remove the milk every minute or so for a quick stir. Doing so prevents curdling and ensures the milk reaches an ideal temperature.
To boil milk in the microwave, you’ll need a microwave-safe container like a ceramic cup. You’ll also need a potholder to keep your fingers and hands safe when removing the milk from the microwave.
Set your microwave to its lowest heating setting and set the microwave heating time to five minutes.
Place your cup or container of milk into the microwave, and press the start button. After one minute, remove the milk and stir it with a spoon or stirring stick.
If you have an infrared thermometer, you can use it to gauge the temperature of the milk. If you don’t have one of these devices, you’ll want to watch for rapid bubbling, as this is an indicator that the milk is boiled.
You’ll likely need to place the milk back into the microwave and remove it every 60 seconds until boiled.
While this can be a labor-intensive process that doesn’t allow you to walk away, you may find that microwaved milk is less likely to curdle and cause a mess.
Final Thoughts
If you’re craving warm milk or looking to boil milk for a recipe, you can use a kettle to get the job done. However, it might be better to use a saucepot or microwave your milk in a microwave-safe cup.
After all, the milk residue that lingers inside a kettle can be challenging to clean up.
Additionally, electric kettles tend to apply heat directly to the liquid inside them, resulting in curdled milk chunks that cling to the kettle’s internal heating elements.


